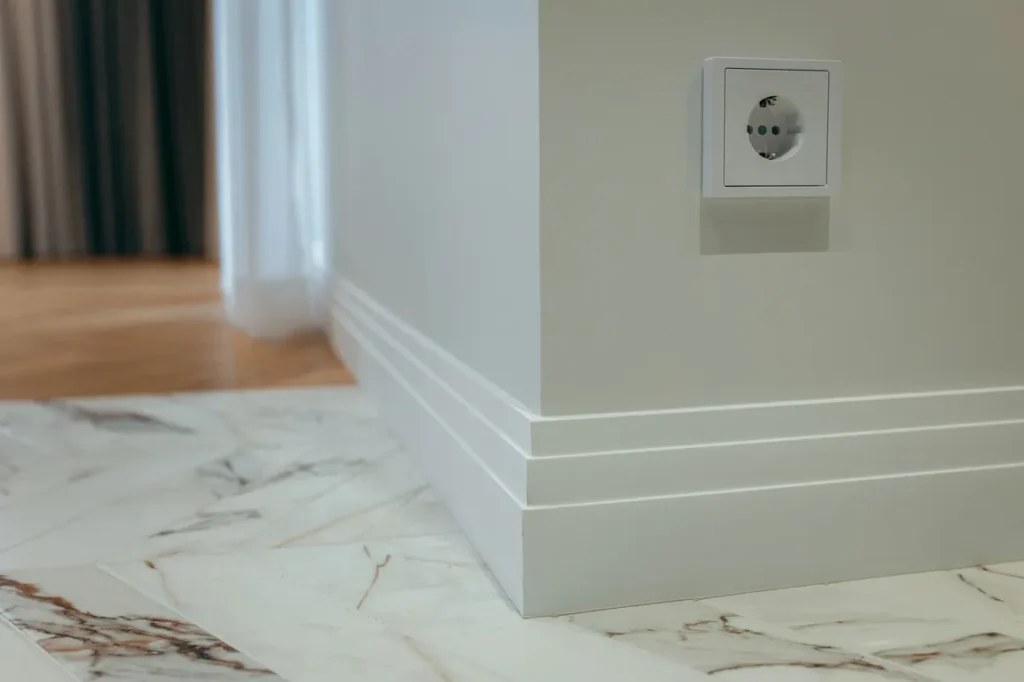
Baseboard Installation
Complete your floors with professional baseboard and trim installation. Custom molding that matches your style perfectly. Clean lines, tight corners, and flawless finish work. The essential detail that makes your floor renovation complete.
What Is Baseboard Installation?
Essential trim work for polished, finished appearance
Expert Trim Carpentry
Baseboard installation involves fitting trim molding along the bottom of walls where they meet the floor. This covers the expansion gap required for hardwood floors, hides imperfections, and creates a polished, finished look. Additional trim includes quarter round, shoe molding, and door casing.
Professional installation requires precision carpentry skills. Corners must be perfectly mitered at 45-degree angles. Trim must lay flat against both wall and floor with no gaps. Nail placement, caulking, and painting (if applicable) must be done carefully for seamless results.
With 38 years of experience, we install baseboards with meticulous attention to detail. Our work includes measuring and cutting custom lengths, creating perfect corner joints, securing trim properly, and ensuring a flawless finish that complements your beautiful new floors.
Types of Trim & Molding
Complete trim solutions for every style
Baseboards
Main trim running along bottom of walls. Available in various heights (3"-8") and styles from simple to ornate. Painted or stained to match your décor.
Quarter Round
Small curved molding installed at the base of baseboards. Covers expansion gaps between floor and baseboard. Essential for hardwood floor installations.
Shoe Molding
Similar to quarter round but with a different profile. Slightly taller and narrower. Often used with taller baseboards for proportion and visual appeal.
Door Casing
Trim around doorways and openings. Coordinates with baseboard style. Includes head casing (top) and side casings. Creates finished transition at doorways.
Crown Molding
Decorative trim at ceiling-wall junction (not always part of floor projects). Adds elegance when coordinated with baseboards for cohesive design throughout.
Custom Profiles
Unique or period-specific molding profiles. Match existing trim in older homes or create custom designs. Router work for special shapes and details.
Why Professional Baseboard Installation?
The difference between amateur and expert finish work
Perfect Corner Joints
Precision 45-degree miters at inside and outside corners. Joints fit tightly with no gaps—the hallmark of professional trim carpentry.
Protects Walls
Baseboards protect lower walls from vacuum cleaners, furniture bumps, and foot traffic. Extends wall paint life and prevents damage.
Hides Imperfections
Covers required expansion gaps around hardwood floors. Conceals uneven wall-floor junctions and minor installation imperfections for clean appearance.
Completes The Look
Floors look unfinished without trim. Professional baseboards transform a space from construction zone to beautiful, completed room.
Design Flexibility
Choose from countless profiles and heights. Paint to match walls, contrast for definition, or stain to coordinate with floors. Endless customization.
Increases Home Value
Quality trim work signals attention to detail. Homes with professional molding and trim command higher prices and sell faster than those without.
Professional Installation Process
Meticulous technique for flawless results
Style Selection
Review baseboard profiles, heights, and materials. Consider room style, ceiling height, and existing trim. Show samples to help you visualize the finished look.
Precise Measurements
Measure each wall section accurately. Calculate material quantities plus 10% for waste and errors. Account for corner angles which may not be exactly 90 degrees.
Material Preparation
Cut baseboards to length with precision miter saw. Create perfect 45-degree miters for corners. Pre-paint or pre-stain if requested before installation.
Installation
Secure baseboards to wall studs using finish nailers. Ensure trim sits flush against both wall and floor. Fill nail holes with wood filler matched to paint/stain color.
Finishing Touches
Caulk gaps between trim and walls for seamless appearance. Paint or stain as specified. Apply clear protective finish if using stained/natural wood trim.
Expert Trim Carpentry
38 years of trim installation in Sonoma & Marin County
NWFA Certified
Rick Lachmiller's certification ensures industry-leading installation techniques and knowledge of proper trim work for hardwood floor projects.
38 Years Experience
Since 1986, we've installed thousands of linear feet of trim. Experience ensures perfect corners, tight joints, and professional finish quality.
Precision Cuts
Professional-grade equipment delivers exact 45-degree miters and custom angles. Corners fit perfectly—no gaps, no filler required.
Complete Finishing
We handle everything—installation, caulking, filling, painting or staining. One contractor manages the entire process for consistent quality.
Comprehensive Service
Install baseboards, quarter round, door casings, and transitions. Everything needed to complete your floor project properly.
Licensed & Insured
CA License #991260, bonded and insured with $1M liability coverage for your complete protection and peace of mind.
Common Baseboard Questions
Everything you need to know about trim installation
Ready for Professional Trim?
Schedule your free estimate. We'll measure your space and provide pricing for complete baseboard installation.
Serving Sonoma & Marin County
Professional trim installation throughout the North Bay